Using the Checklist Data Editor
The checklist data editor window is opened by clicking the "Open" button on any checklist control within the control editor window's checklist list.
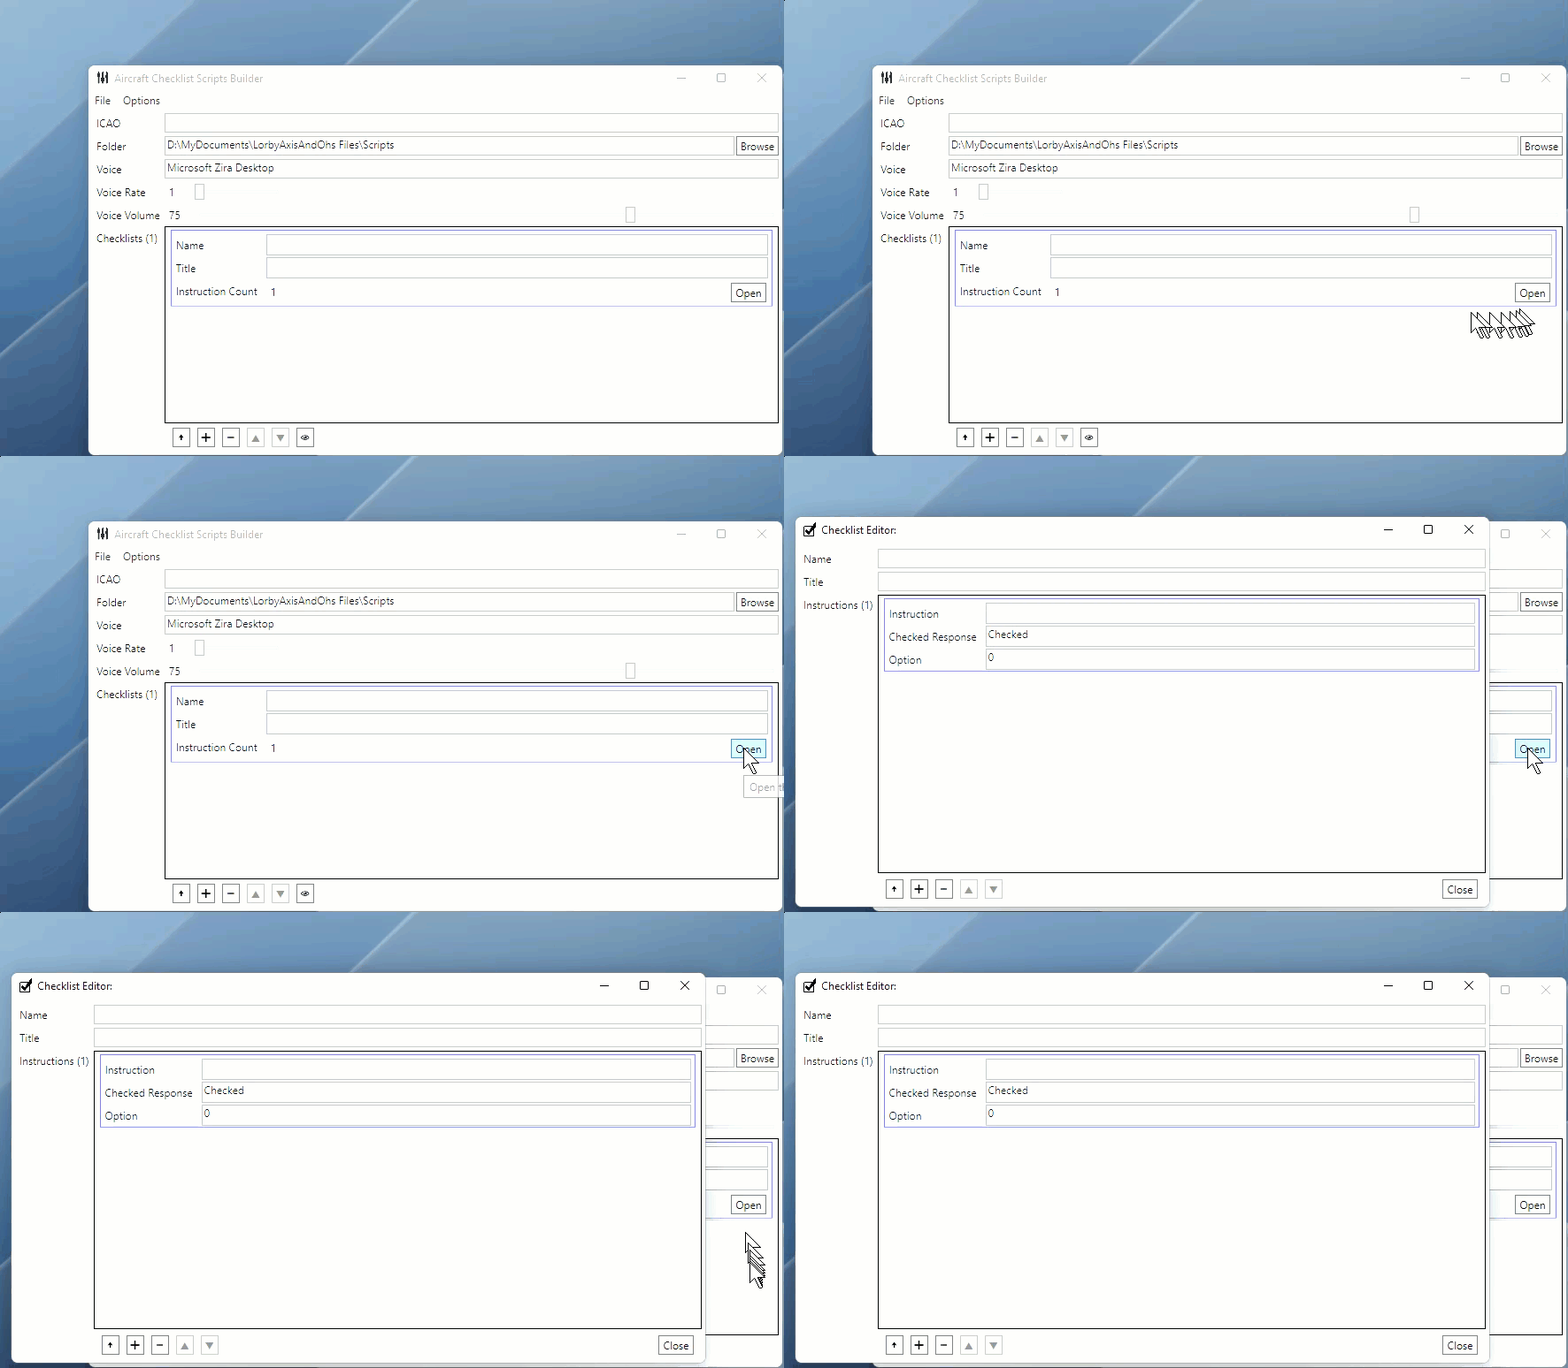
A new (empty) checklist editor will look like this:
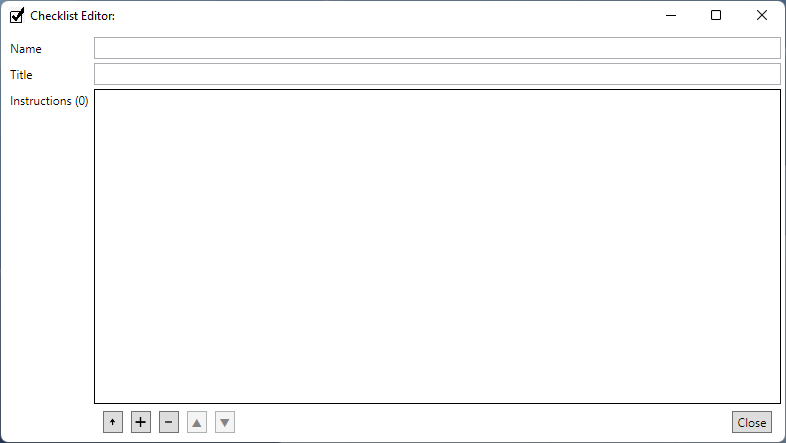
Starting at the top and working down you will see a "Name" field (a short name to identify the checklist) and a "Title" (possibly the same as "Name," but usually a little longer). An example of "Name" and "Title" might be "preflight" and "preflight inspection." These are the same as the "Name" and "Title" fields in a checklist control on the Control Data Editor.
And then finally, there is a list box where instructions can be added, removed, and manipulated with the list control buttons at the bottom of the list box. Each added instruction will look like this:

In each instruction control, you should provide an "Instruction" to be given, a "Checked Response" to be expressed after the instruction has been followed, and an "Option." The first two fields will be expressed by AAO using TTS. Abbreviations should be entered with spaces between the letters so TTS will read the letters out rather than trying to pronounce what it "thinks" is a word.
The default value for the "Option" field is the numeral "0," which tells AAO to add a one-second delay before expressing the checked response. For a longer delay, you can enter a delay value in milliseconds starting at a minimum of 1500. Optionally, you can enter RPN code here that will cause AAO to wait until a condition within the code is met. Read about this feature on page 94 of Lorby AAO MSFS Documentation. Be aware, however, that a mistake in this code may produce unexpected results.