


Demo
1. Install Annotate
# Install globally
npm i -g @notmanu/annotate

# Or with pnpm / bun
pnpm add -g @notmanu/annotate
bun add -g @notmanu/annotate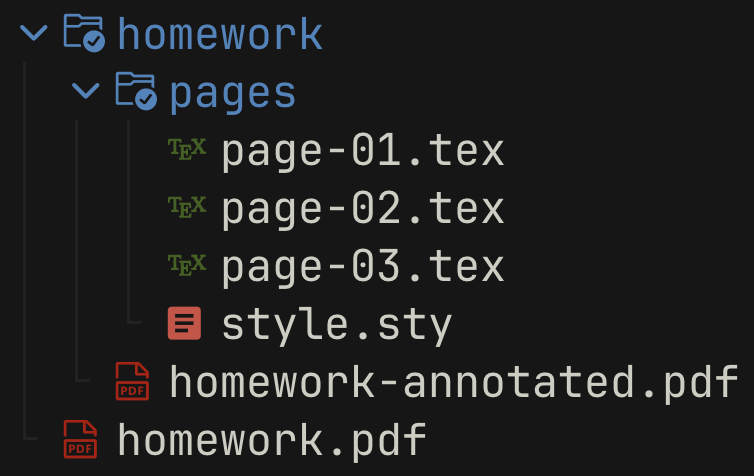
2. Create a project
Run this command to create a new annotation project and start watching:
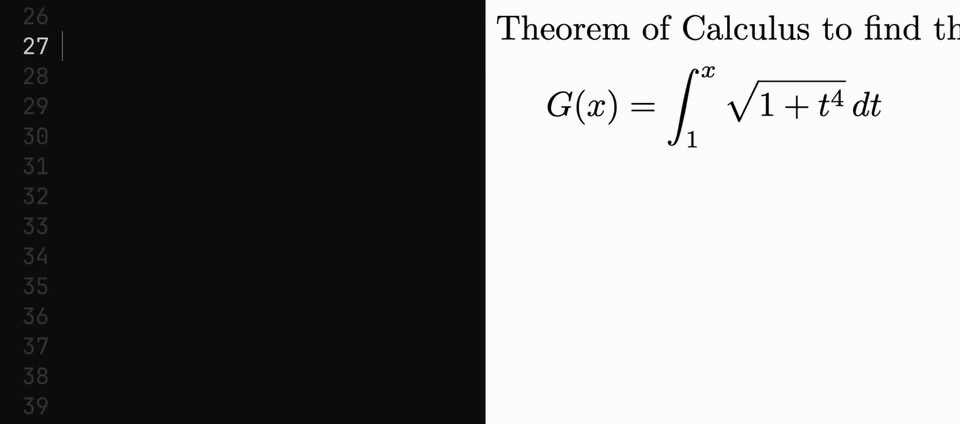
annotate homework.pdf --with latexThis creates a homework/ folder, compiles the initial pages, and immediately enters watch mode:
3. Add some annotations!
Edit pages/page-01.tex and add a textbox:
\textbox[x=10em, y=40em, w=30em, h=10em, border]{
  \large
  Hello Annotate!
}
Save the file — Annotate recompiles automatically and updates homework-annotated.pdf.
4. Resume watching
If you close the terminal and come back later:
annotate watch homework/Write annotations in LaTeX or Typst and overlay them directly onto existing PDFs. Annotate watches your files, recompiles on every save, and produces a final annotated PDF in real time.
Live reload — Edit a .tex or .typ file, save, and see the result instantly. No manual build steps.
Per-page annotations — Each page gets its own file (page-01.tex, page-02.tex, ...) so you only touch what you need.
Automatic page sizing — Overlay pages match the original PDF's dimensions. No configuration required.
Works with your existing tools — Any text editor, any LaTeX packages, any Typst modules. Annotate stays out of your way.
Image generation — Export each page as a PNG with the --images flag. Requires pdftoppm (poppler) or mutool (mupdf) to be installed.
Built-in macros — A generated style.sty / style.typ gives you positioning primitives out of the box.
Supported engines
Annotate works out of the box with your TeX distribution or with Typst.
| Engine | Language | Supported | Tested | Notes |
|---|---|---|---|---|
| tectonic | LaTeX | ✓ | ✓ | Recommended, auto-downloads packages |
| typst | Typst | ✓ | ✓ | The future of typesetting! |
| latexmk | LaTeX | ✓ | ✗ | Common in TeX distributions |
| pdflatex | LaTeX | ✓ | ✗ | Basic LaTeX engine |
| xelatex | LaTeX | ✓ | ✗ | Unicode/font support |
| lualatex | LaTeX | ✗ | ✗ | Not yet implemented |
Note: Engines that are not tested should work but haven't been verified yet. If you try one, please open an issue and let me know how it goes!
Built-in macros
Every new project includes a style.sty (LaTeX) or style.typ (Typst) with helpful macros so you can start annotating right away.
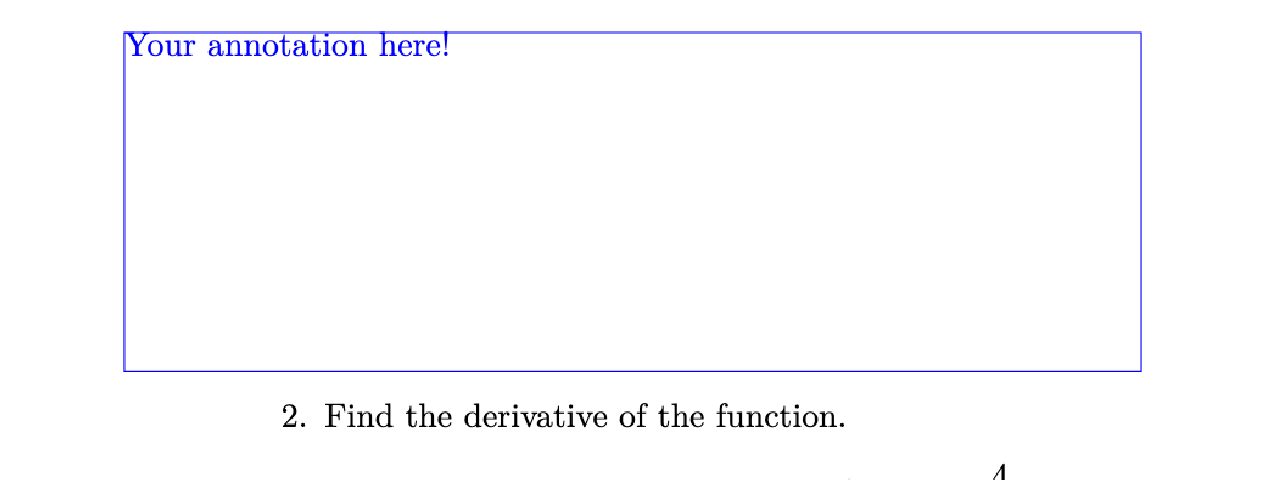
\textbox (LaTeX) / #textbox (Typst) is the main positioning command. Place a box at any position on the page:
\textbox[x=10em, y=40em, w=30em, h=10em, border]{
  Your annotation here!
}#textbox(x: 10em, y: 40em, w: 30em, h: 10em, border: true) {
Your annotation here!
}| Option | Default | Description |
|---|---|---|
x |
0pt |
Horizontal offset from top-left |
y |
0pt |
Vertical offset from top-left |
w |
2in |
Box width |
h |
0.5in |
Box height |
pad |
0pt |
Inner padding |
border |
off | Show a border (useful for debugging placement) |
Other macros included in the default style:
| Macro | Description |
|---|---|
\annotationcolor{color} |
Change the annotation text color |
\annotationbox[fill]{content} |
Highlighted box (default fill: yellow) |
\annotationlayer{...} |
TikZ overlay layer for absolute positioning |
\answerspace[height] |
Insert blank space for handwriting (default: 1.2in) |
\begin{defbox}[title] |
Definition box environment |
\begin{hintbox}[title] |
Hint/note box environment (default title: "Hint") |
definition, theorem, lemma, corollary |
Auto-numbered math environments |
Typst equivalents use function syntax:
#textbox(x: 10em, y: 40em)[content],#annotation-box(content),#annotation-text("text"),#answer-space(). Seestyle.typfor the full API.
Annotate is designed to work well with AI coding agents like Claude Code, Cursor, and Copilot. The workflow is simple: you set up the boxes, the agent fills them in.
1. Set up your project with --agents
The --agents flag generates an AGENTS.md, CLAUDE.md, and automatically enables --images so the agent can see each page:
annotate homework.pdf -w latex --agents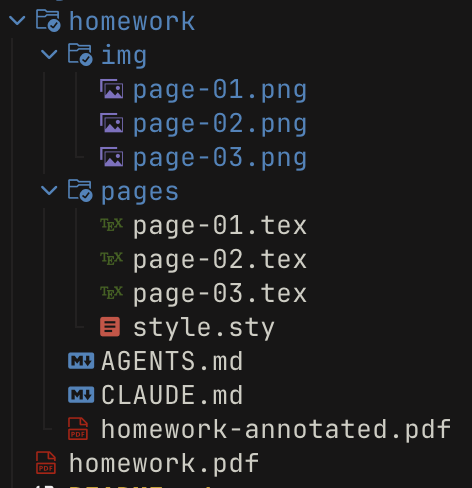
This creates the full agent-ready project structure — img/ holds a PNG per page so the agent can see the layout, and AGENTS.md / CLAUDE.md give it the context it needs.
You can also add --agents to an existing project — it will generate the missing files without overwriting anything:
annotate watch homework/ --agents2. Place your boxes
Add empty \textbox elements with border enabled where you want the agent to write. The border helps you visually confirm the placement before handing it off:
\textbox[x=150bp, y=350bp, w=330bp, h=120bp, pad=4pt, border]{
  Question 1.
}

\textbox[x=150bp, y=548bp, w=330bp, h=110bp, pad=4pt, border]{
  Question 2.
}
3. Customize the AGENTS.md
The generated AGENTS.md includes sensible defaults for annotation work. Customize it to fit your workflow — this file is automatically picked up by Claude Code and similar tools:
- Prefer `displaystyle` when possible; use `textstyle` only when space is tight.
- Remove the border from a question once it is completed.
- Do not include the question number when writing answers — provide the answer directly.
- Do not attempt to compile the document; it will be compiled automatically.
The agent reads the page images in img/, understands the layout, and fills in the LaTeX — all while Annotate recompiles in the background. See examples/AGENTS.md for a full example.
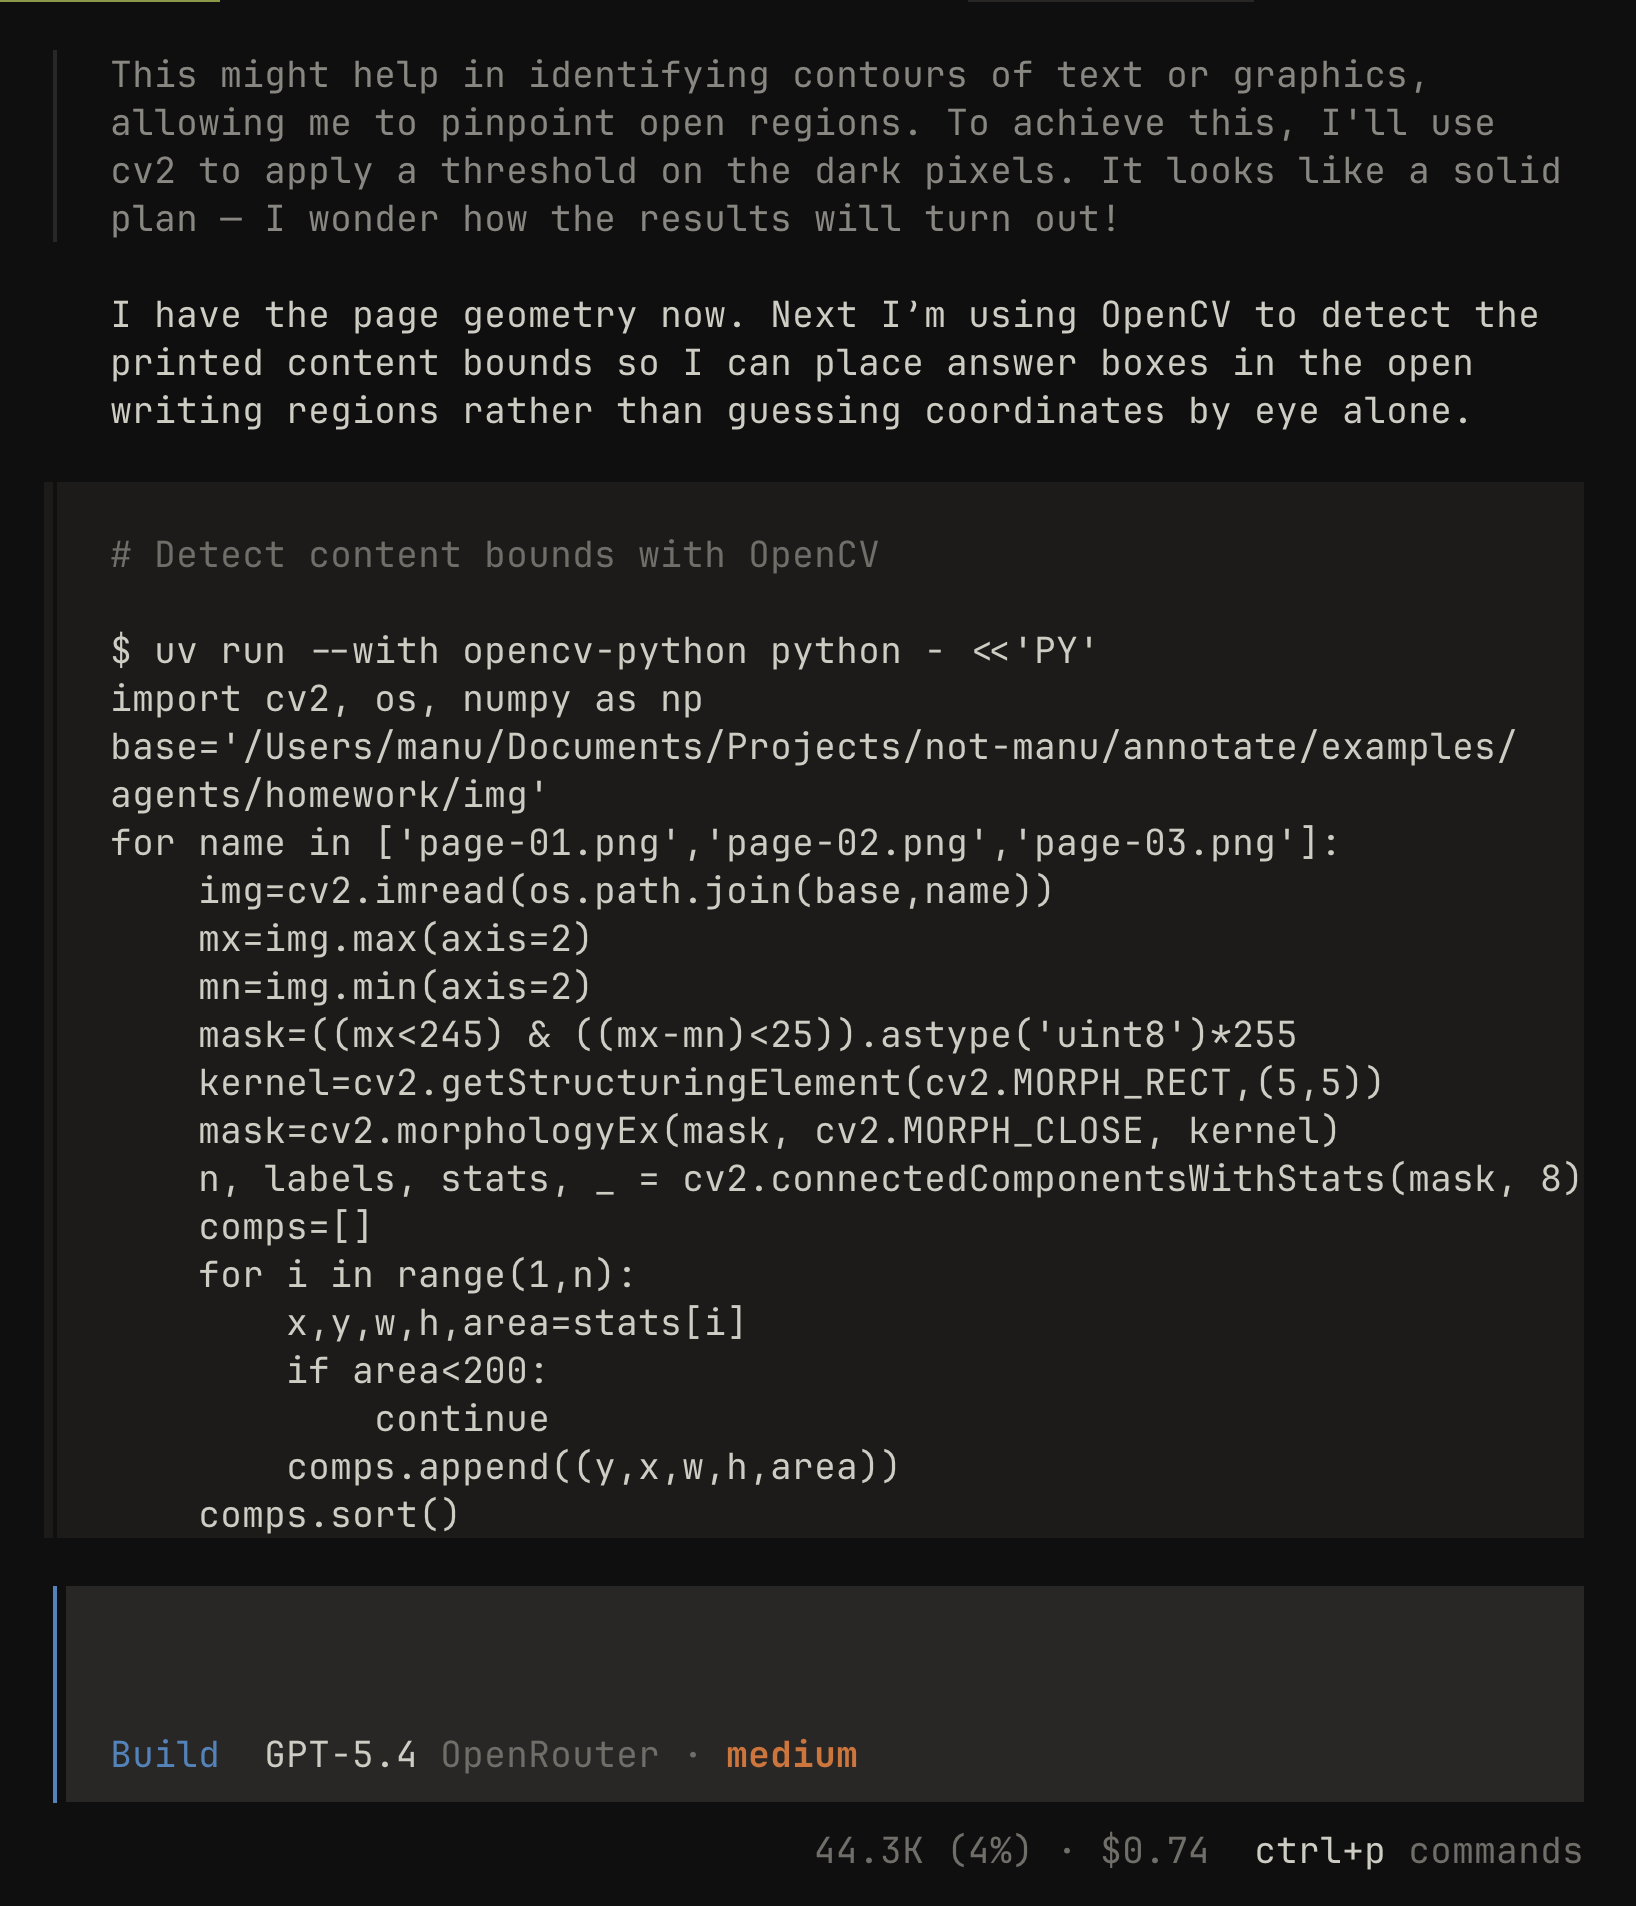
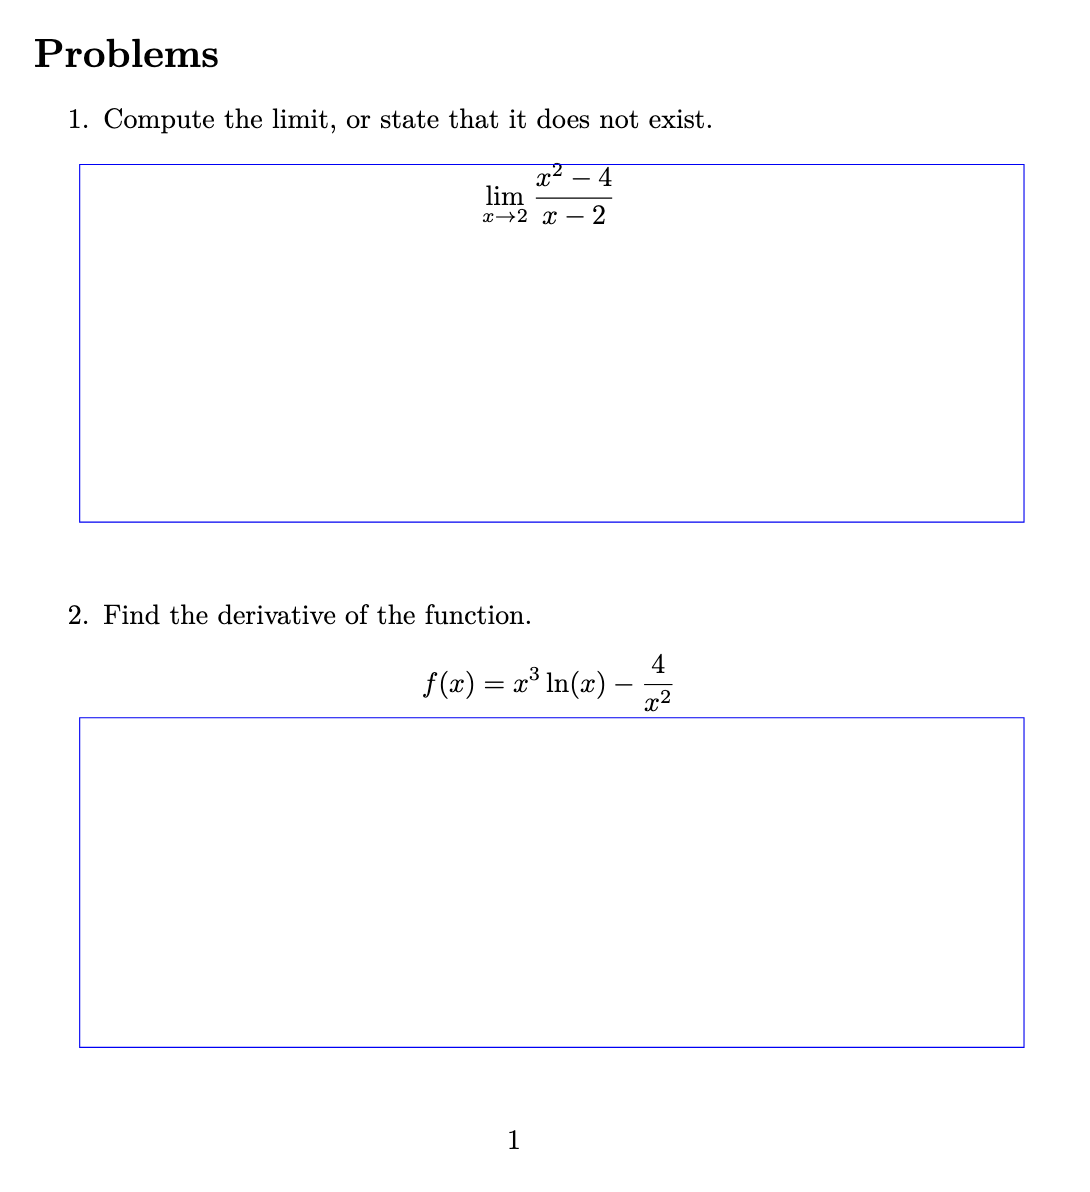
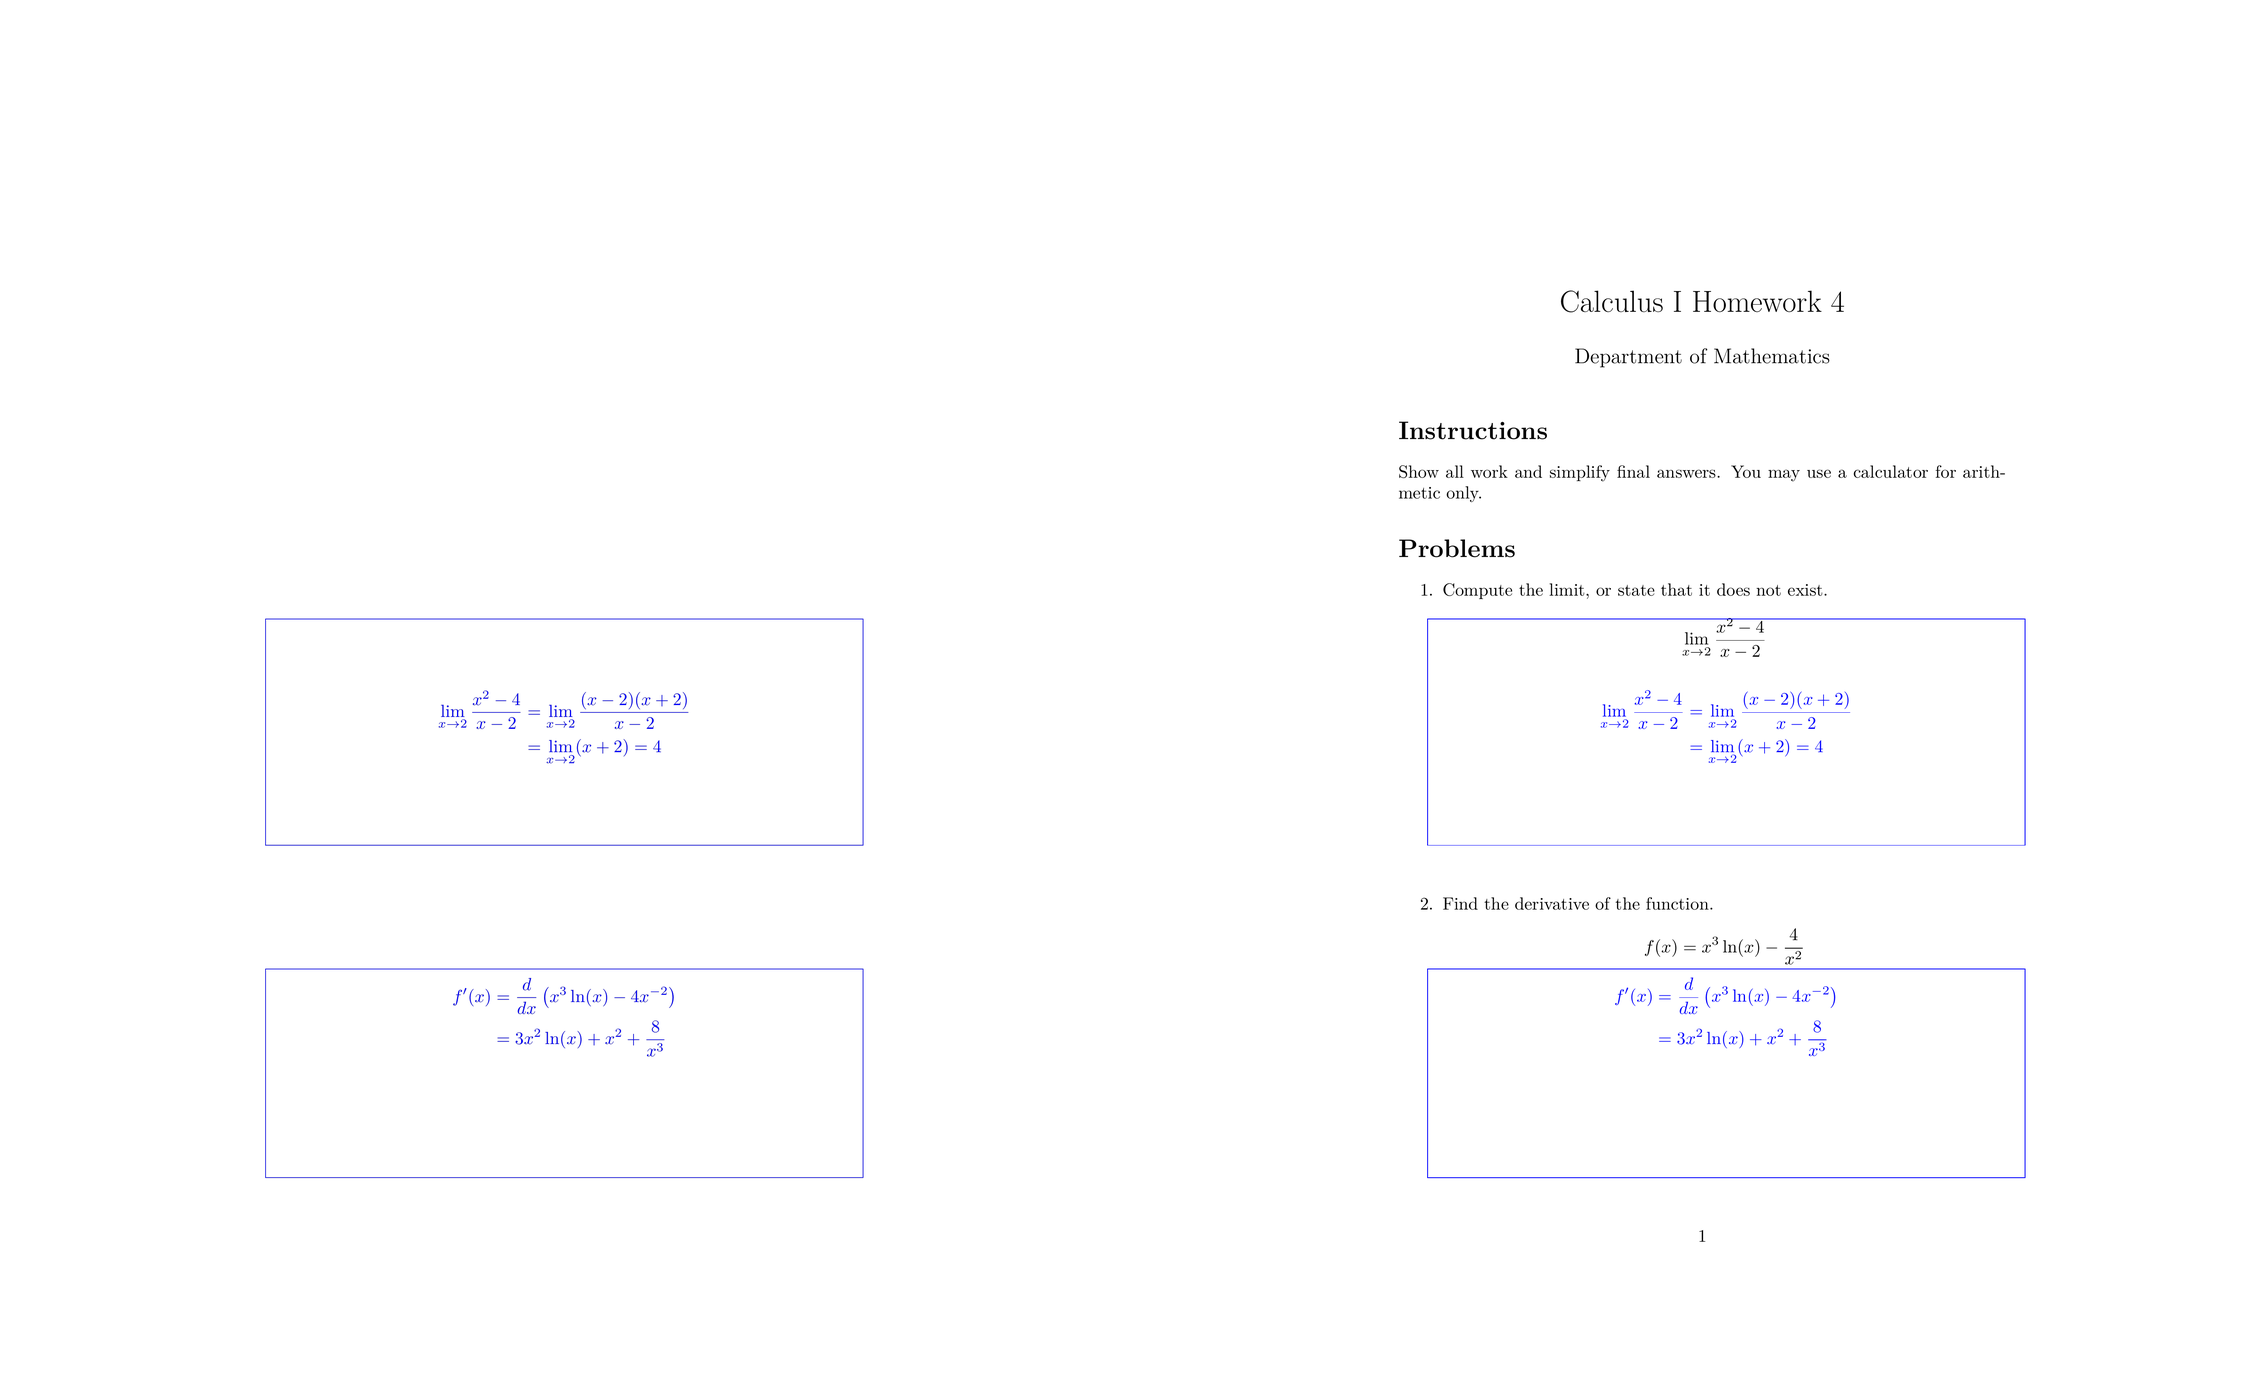
Automating box placement with OpenCV
For assignments with many printed answer regions, you can skip manual box placement entirely. Let the agent write a quick Python script that detects the boxes from the page image and generates the \textbox coordinates automatically:
# the agent can run this without modifying your project deps
uv run --with opencv-python python detect_boxes.py
The script reads a page image from img/, finds the answer regions using contour detection, and converts the pixel coordinates into \textbox positions using the page dimensions. This is especially useful for worksheets with dozens of small answer boxes or checkbox grids.
Annotate watches your pages/ directory. When you save a .tex or .typ file, it recompiles only the affected page into a transparent annotation PDF. After compilation, pdf-lib overlays each annotation page onto the corresponding page of the original and writes out the final *-annotated.pdf. The original PDF is never touched.
The examples/ folder has ready-to-run projects you can use as a reference:
| Folder | Description |
|---|---|
examples/latex |
LaTeX homework annotation |
examples/typst |
Typst homework annotation |
examples/agents |
Agent-ready project with AGENTS.md and a full transcript |
Found a bug or want to add an engine? Open an issue or send a PR — contributions are welcome.
Dev setup:
bun install

# Link annotate-dev → src/index.ts (runs with Bun, no build step needed)
bun run dev:link

annotate-dev homework.pdf -w latex

# Unlink when done
bun run dev:unlink