| description |
|---|
Note: Looking for the ioBroker version? Check out the ioBroker Gobel BMS Monitor Adapter.
[!TIP] Looking for a Native Home Assistant Integration?
We have launched a pre-release of the native Gobel Power Battery Home Assistant Integration!
It runs directly inside Home Assistant without requiring an MQTT broker, and supports multi-site monitoring (connecting to multiple batteries on different IPs, ports, or serial interfaces simultaneously). We welcome your testing and feedback!
The ultimate Home Assistant integration for smart energy storage monitoring. This add-on provides robust, real-time data logging and diagnostics for your LiFePO4 battery banks running Pace BMS, JK BMS, or TDT BMS hardware.
Seamlessly bridge your solar energy storage system (ESS) with your home automation network using standard protocols like MQTT to monitor battery health, individual cell voltages, state of charge (SoC), and system protections.
- Multi-BMS Compatibility: Native support for Pace BMS, JK BMS (55AA protocol), and TDT BMS.
- Versatile Connectivity Options: Connect your hardware via RS232-USB, RS232-to-Ethernet, RS232-to-WiFi, RS485-to-Ethernet, or RS485-to-WiFi.
- Comprehensive Telemetry: Tracks state of charge (SoC), state of health (SoH), total voltage, current, individual cell balancing, temperatures, warnings, and fault protections.
- One Connection for All (Master-Slave): Simplify your wiring. Connect directly to the Master BMS to automatically discover and aggregate data from all parallel-connected slave battery packs.
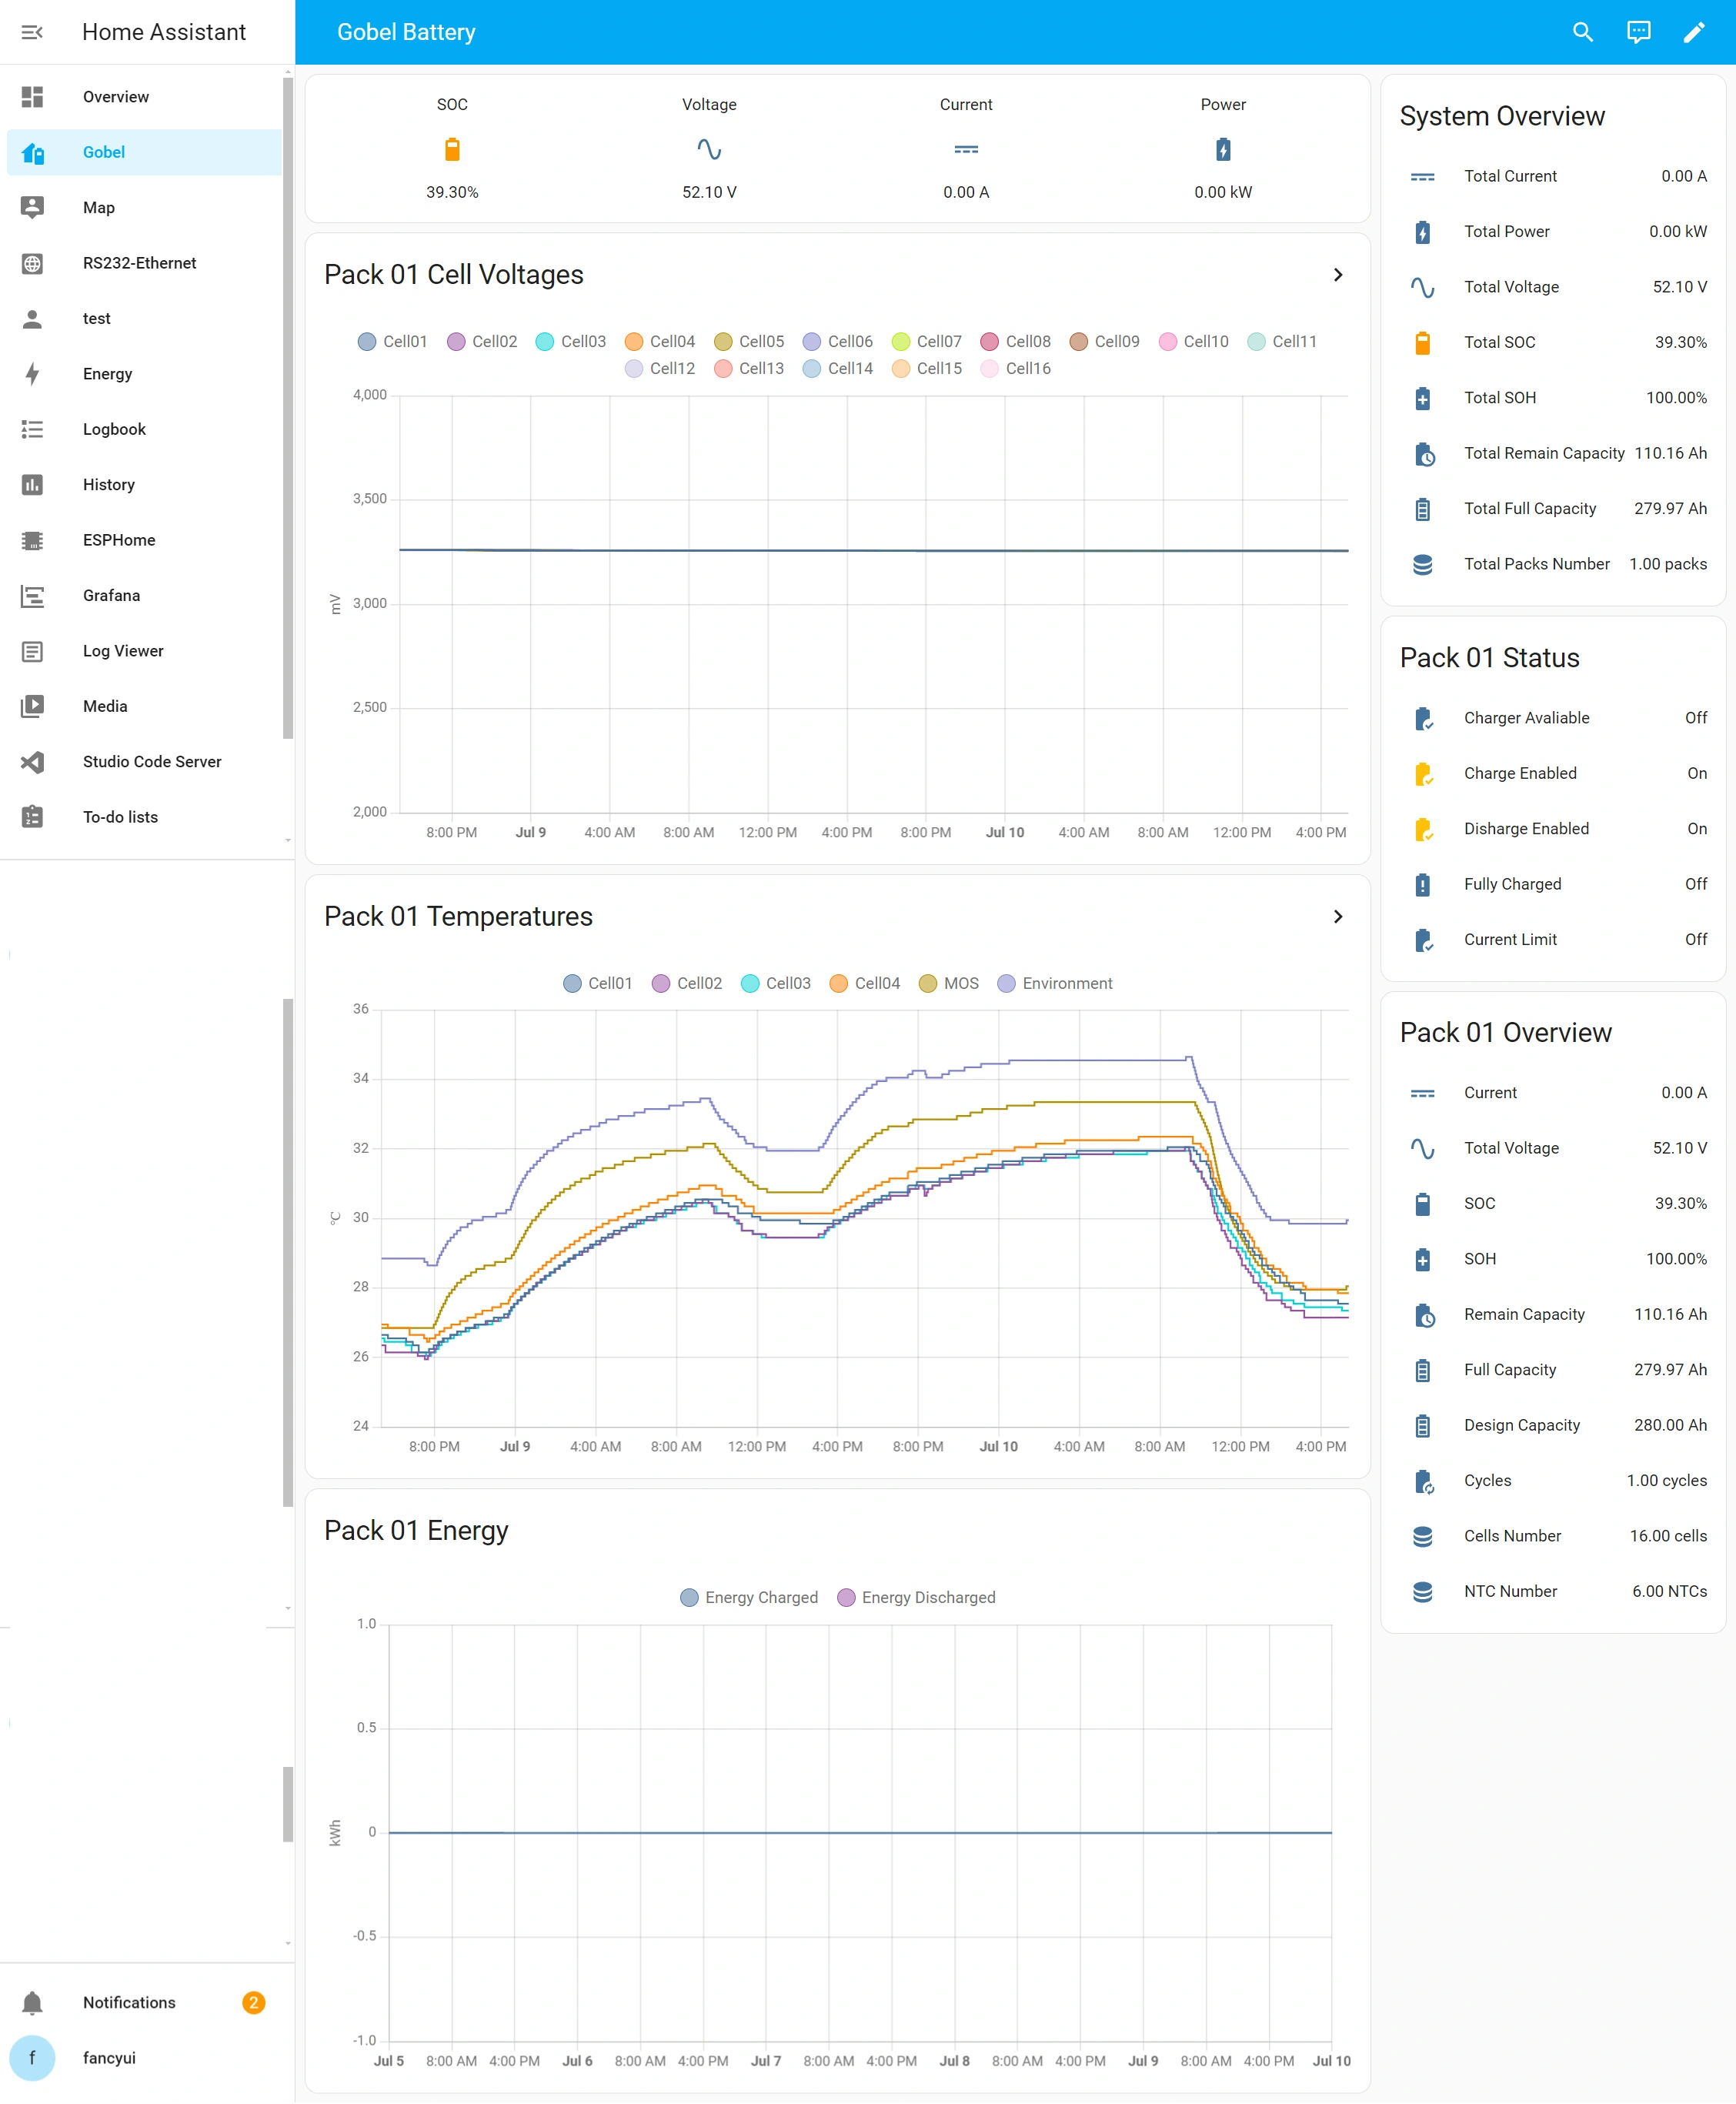
- Plug-and-Play Home Assistant Setup: Quickly deploy and generate automated dashboards for real-time energy tracking.
Gobel Power Battery Home Assistant Addon Manual
Online Home Assistant Dashboard Generator
- RS232-WIFI/Ethernet modual or RS232-USB cable needed
- Connection Port: Connect Home Assistant to the RS232 or WIFI interface of the Pace BMS.
- Master BMS: The connection must be made to the Master BMS.
- DIP Switch Settings: Ensure the DIP switch (Dial) of master BMS is set to 1000.
- RS485-WIFI/Ethernet modual or RS485-USB cable needed
- Connection Port: Connect Home Assistant to the RS485B or RS485C interface of the JK BMS.
- Master BMS: The connection must be made to the Master BMS.
- DIP Switch Settings: Ensure the DIP switch (Dial) of master BMS is set to 0000.
Click the button to add the addon to Home Assistant


