
Bruin Dine provides users with UCLA Dining menu information for menu items that the user likes. This full-stack application helps students in many ways - UCLA’s dining menu can often be complicated, and this way, students who have dietary restrictions or other preferences can more easily navigate menu options.
The features and implementations that Bruin Dine provides are:
- Dynamic data that changes based on user input
- User feeds will be styled and changed depending on their "likes" for certain food options
- Various options for utilizing the app
- Users will be able to use the mobile application built with React/React-Native as well as use the Chrome extension to view some of the data on the browser
- Dyamic web-scraped UCLA Dining Hall data (Additional distinct feature #1)
- Utilizing Python web-scraping scripts (beautifulsoup), Python automatically scrapes data off of the UCLA dining hall static web sites and writes the data to Firestore/Realtime Database in an organized and object-oriented manner
- Crowd-sourced user survey information (Additional distinct feature #2)
- Users have the ability to answer questions about the dining halls based on which dining halls are the best for the day through surveys, which will display to other users
- Chrome Extension option (Additional distinct feature #3)
- Enable users to view limited data on available dining halls in the browser with ease.
See our final project presentation here
Bruin Dine is currently in beta version.
Clone Bruin Dine's repository and cd into the respective folders if necessary.
git clone https://github.com/easyesplat/UCLA_Dining
cd ./UCLA_Dining
Installation steps for the NodeJS dining hall app, Python web-scrape script, and NodeJS chrome extension will be outlined below.
- Python (3.9.7)
- Anaconda3
- pip
- If you don't have Anaconda3 yet, follow the instructions here to correctly implement and install Anaconda3
- If you are within "UCLA_Dining",
cdinto "PythonCode"
cd PythonCode- For the Python files, the scripts must be interpreted and ran under Python 3.9.7 alongside anaconda3; For users who use Visual Studio Code, enter "Python: Select Interpreter" and select the current intepreter.

- Afterwards, make sure that the directory within your Python terminal is within the directory "PythonCode". This is due to the fact that the scripts reference "./serviceAccountKey.json" which means that the Python directory must reside within the appropriate path.
- If you haven't already, sign up for a firebase account in Firebase and create a new project. If you already have an account, log in to your Firebase console and add a new project.
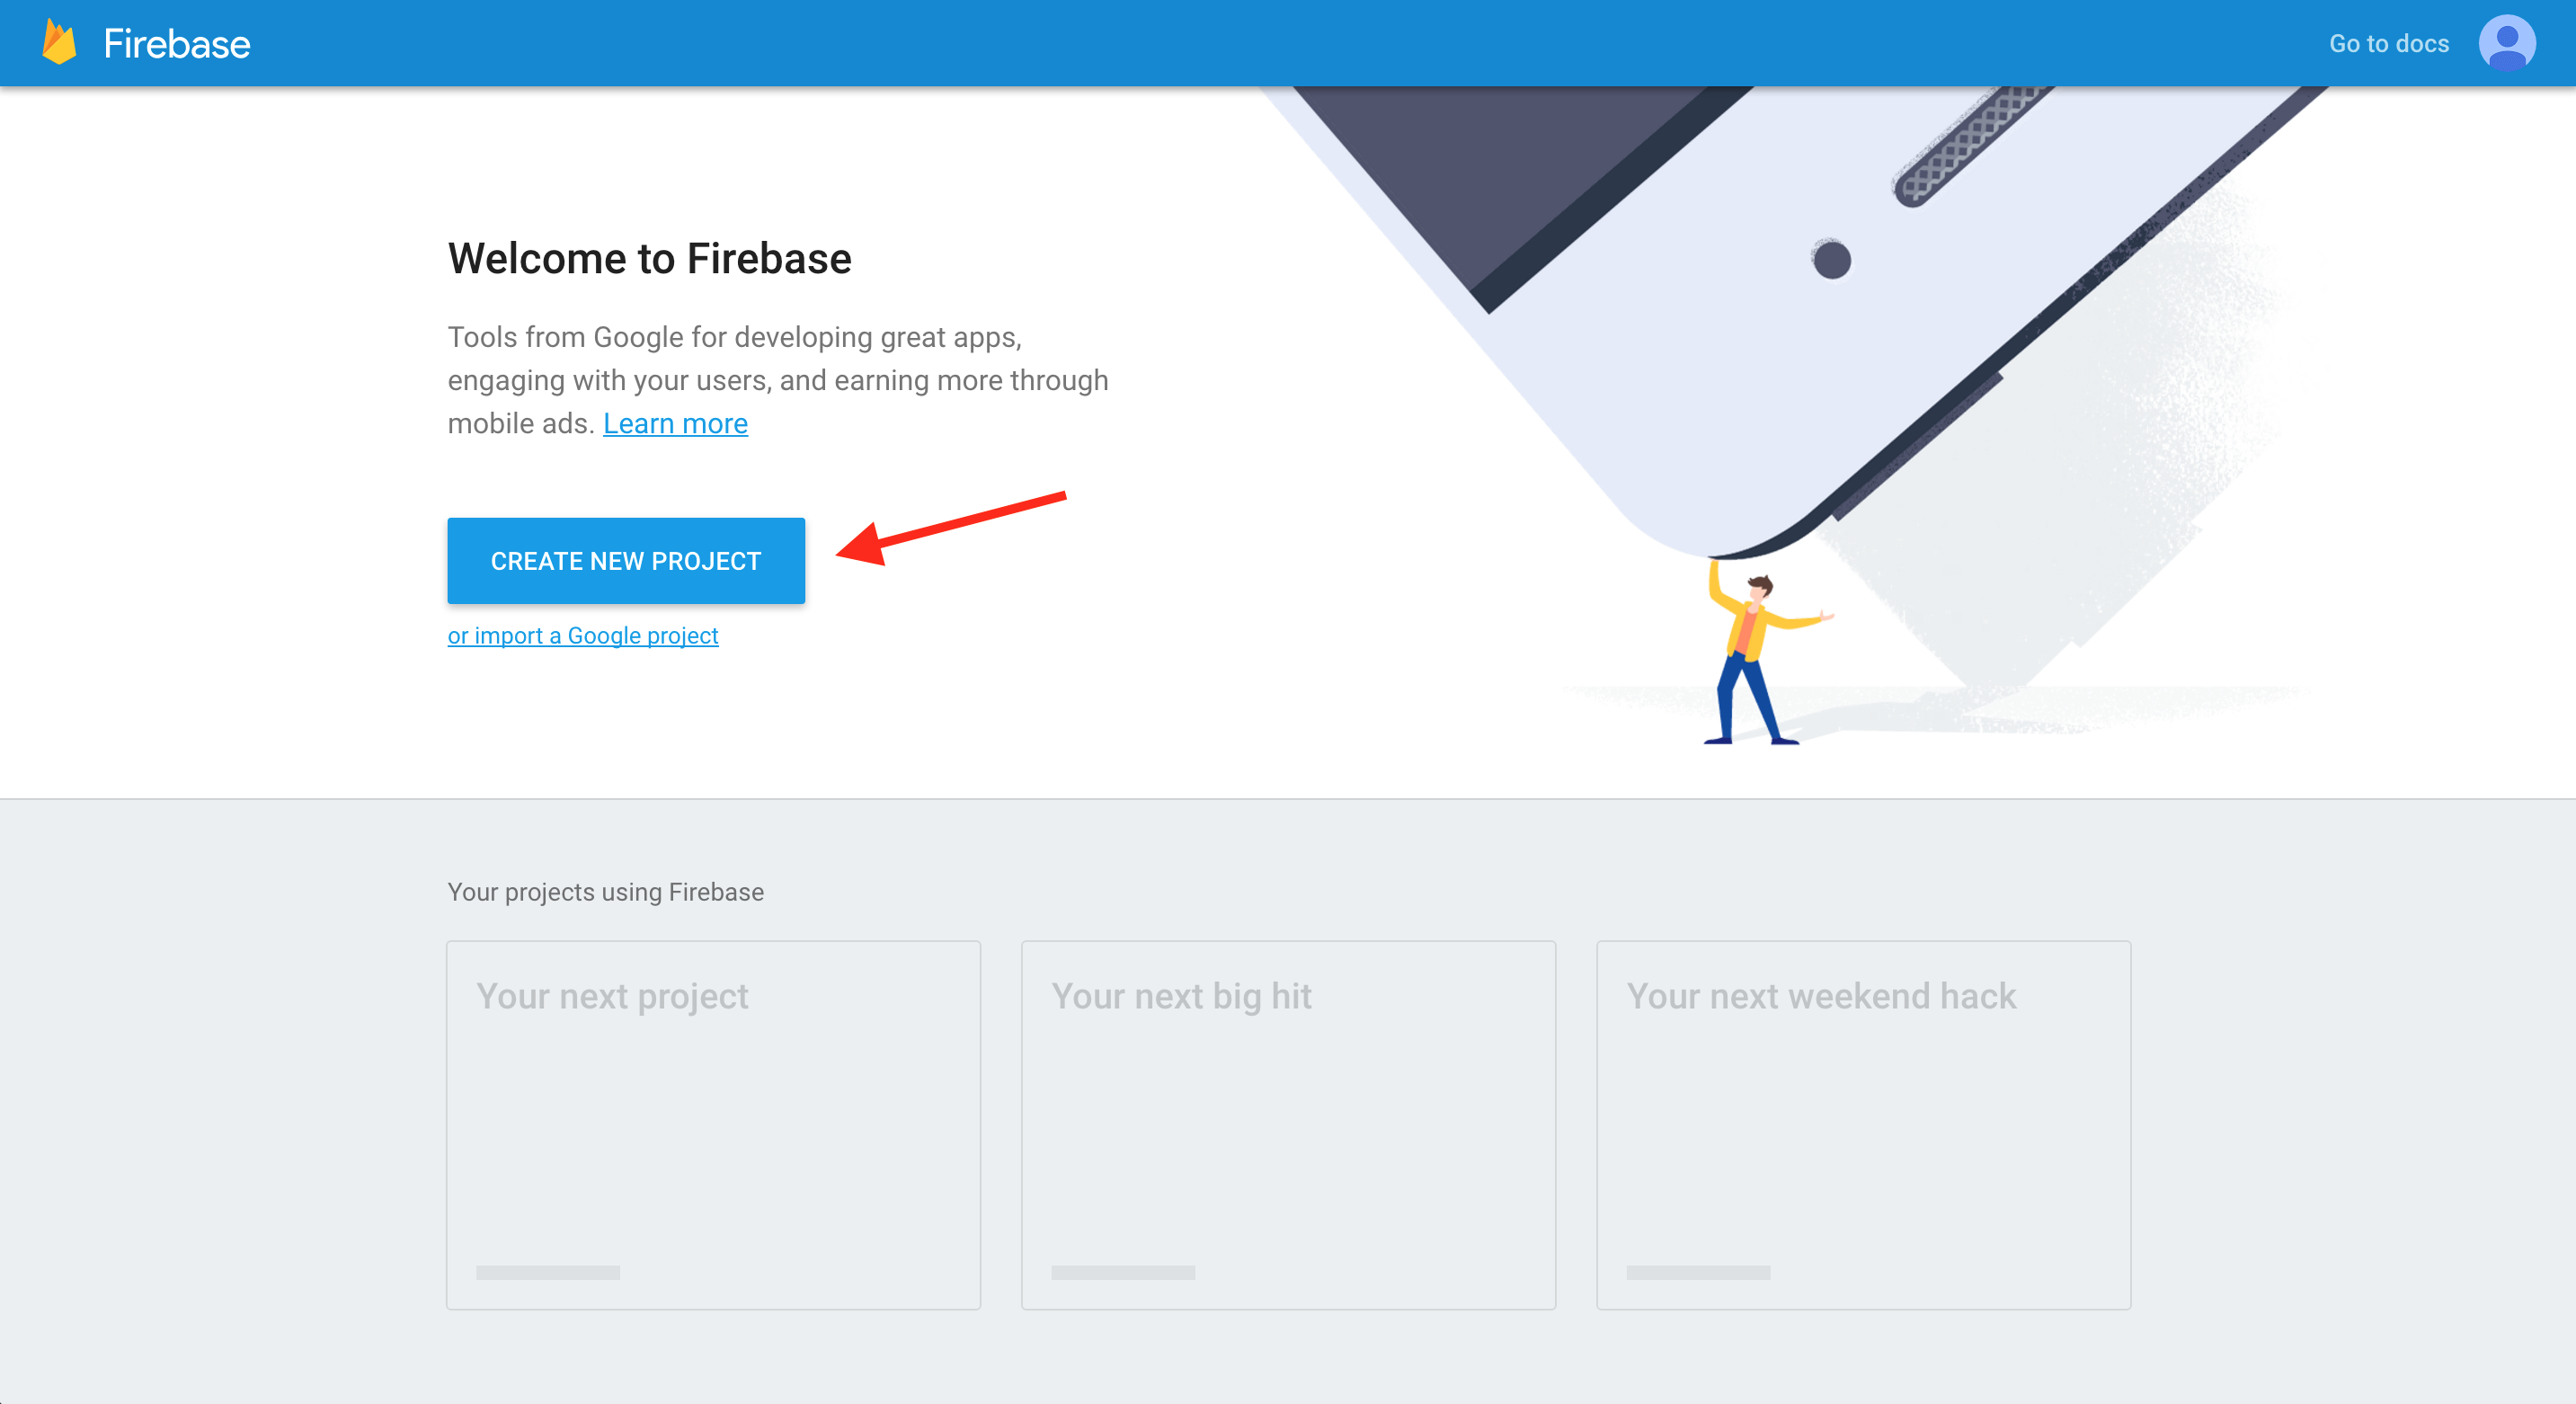
- Name your project and go click on the Firestore section. Follow the Firestore database workflow accordingly.
- Add the Firebase Admin SDK to the Python application with the following command:
pip install --upgrade firebase-admin<Note> Normally, your private key should not be shared to the public due to security concerns; however, for simplicity and practical purposes, I have added my own "serviceAccountKey.json" under the "PythonCode" directory. Therefore, if you would like to just run the Python script without worrying about making your own private key, skip the next step.
- In IAM & Admin > Service Accounts, create a new private key for your newly created firebase project and save the JSON file with the "PythonCode" directory; the file must be name "serviceAccountKey.json" and be placed in the correct location for the Python scripts to correctly push data to Firestore

- Check that the whole process worked by checking your data in the firebase app within your firebase console
- Within the "PythonCode" directory, there is a Python script called "schedule_scripts.py". This script allows full local automation for the Python web-scraping scripts. To implement the "schedule" import, you must enter the following command to your terminal
pip install schedule- Run the script and check if "Completed Density Level Analysis" prints out on the console every five minutes
- Run the following command to install the Expo command line interface globally on your system
npm install -g expo-cli- Then download the “Expo Go” Application from the IOS App Store or the Google Play Store (this step is required to run on a physical device)
cdto the directory "dining_application"- Within the directory, run the following command
npm install- Once all the required dependencies are installed, go to firebase and get the config keys for the web, and paste them into a file named "keys.js"
keys.js
const firebaseConfig = {
	[Paste your config keys here]
};

export default firebaseConfig; - Confirm that python web-scraping scripts have been ran
- In particular, check "init.py" since it initializes the collections that the application requires
- Lastly, go back to the Firebase Firestore Console and ensure the following collections are present

- Now that you're inside the directory, run the following command
- Expo will then print in the terminal that “Developer tools running on http://localhost:19002” (Expo will run the Developer tools on a different localhost if 19002 is in use)
- Then using your browser, navigate to that link. By default Expo sets the connection mode to “LAN”. Change that to tunnel, by clicking on tunnel
expo start- Now to run that application on a local device, take the device and scan the QR code in the terminal. This QR code should open the “Expo Go” application and the app should begin loading. Metro will bundle all of your files, and you should now be able to use the app freely
-
Open the folder containing the extension; In our repository, the file is located within "dining_extension".
cdinto the respective folder if necessary. -
Run and build chrome extension through npm
npm install
npm run build- In Google Chrome, open the extension settings by clicking "Manage Extensions" and enabling developer mode. Look into Chrome Web Store Help for more info.
- Select "Load unpacked" and navigate to the build folder created by the npm build script. It should be in the same folder as the project. Select the build folder.
- Run the extension as you would run any other extension
** Note ** This process is for using the extension as a demo. If it were to be distributed, it would need to be uploaded to the Google store.
© Eric Choi (ericchoirr38@gmail.com), Kalyan Karamsetty (Kalyan.Karamsetty@gmail.com), Kangrui Chen (kangrui@g.ucla.edu), Marina Suh (marinasuh@g.ucla.edu), Rory O’Regan (roregan@g.ucla.edu)