Flask is a lightweight web framework of Python. It provides the user with libraries modules and tools to help build Web-Applications such as blog or wiki. This tutorial aims to install and use Flask.
In order to complete this tutorial, you need to have Python installed on the your system. Then, we will create a virtual environment with pipenv to work on Flask on the isolated environment.
This tutorial is based on Windows 10 Pro Operating System
If haven't been done, install pipenv. Open a terminal on Windows, such as powershell, cmd. Then use the command below to install pipenv
pip install pipenv
On your windows system, create a new Flask project folder
mkdir Flask-Tutorial-new
Navigate into the Flask project folder that just created
cd Flask-Tutorial-new
Create a new virtual environment inside this folder
pipenv install --python 3.8.1
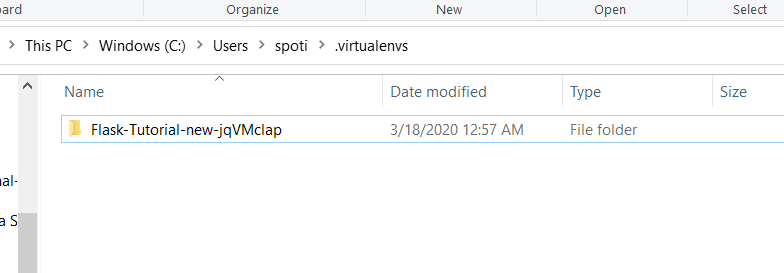
This will create the virtual environment folder in C:\Users\[username]\.virtualenvs
Activate the project's virtualenv, run
pipenv shell
Install Flask
pipenv install flask flask-sqlalchemy
If you want to turn this into Git repository, this is a good place to run
git init
It will be the root of the project, and if you want to export the codebase to a different machine, it will help to have all neccessary setup files here.
Then, we will turn a codebase to installable Python Distribution. At the project's root, create setup.py and a directory call todo to keep the source code.
Here is how setup.py should look like:
from setuptools import setup, find_packages

requires = [
    'flask',
    'flask-sqlalchemy',
    'psycopg2',
]

setup(
    name='flask_todo',
    version='0.0',
    description='A To-Do List built with Flask',
    author='Shutima',
    author_email='<Your actual e-mail address here>',
    keywords='web flask',
    packages=find_packages(),
    include_package_data=True,
    install_requires=requires
)
From the above code, you can see that whenever you want to install or deploy the project, you will have all the neccessary packages in requires list. Everything you need to set up and install the package is also in site-packages.
How to write the Python setup script
Navigate into the todo folder created from above step. In here, create a blank __init__.py file and app.py file.
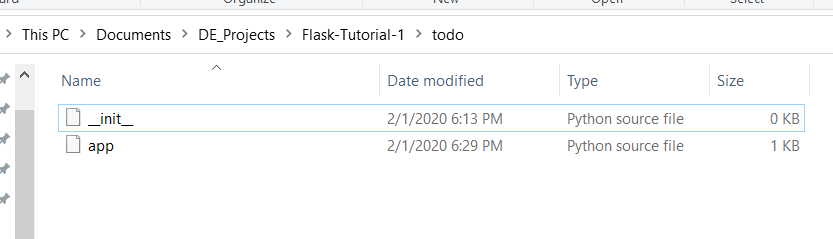
- The
__init__.pyfile allows you to import fromtodofolder as if it were an installed package. - The
app.pyis the application root. This is the place where all the Flask stuff will go, and you will create an environment that points to that file. If you usepipenv, you can locate your virtual environment location with command:
pipenv --venv

Then you can set up that environment variable in your environment's activate script.
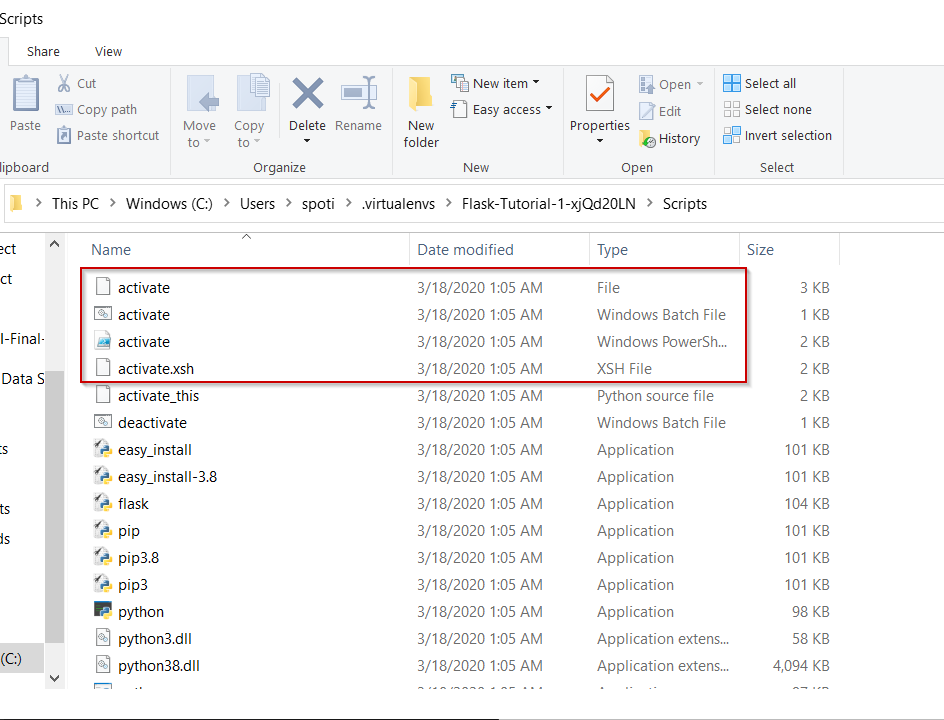
In the activate script, add these lines at the bottom
export FLASK_APP=$VIRTUAL_ENV/../todo/app.py
export DEBUG='True'
Set path for Flask app:
set FLASK_APP=C:\Users\spoti\Documents\DE_Projects\Flask-Tutorial-1\todo\app.py
Once you installed Flask, the flask command-line script was also installed. The command below will prompt the virtual environment's Flask package to run an HTTP server using the app object in whatever script the FLASK_APP path environment is pointed to.
Now, we will focus on app object. For todo/app.py file, this will create an app object. It wil act as the central configuration object for the entire application. This file allows us to set up different functionalities such as a database connection, authentication, etc.
Here we will create the most basic Flask application as followed:
from flask import Flask

app = Flask(__name__)

@app.route('/')
def hello_world():
   """Print 'Hello, world!' as the response body."""
   return 'Hello, world!'
The code below takes _name_ of the script file. The app.route decorates the first view function. Any view must be decorated by app.route. For this example code, when the app is executed and accessed at http://domainname/, you will receive Hello, World! as a respond.
📌If you use PowerShell, please set up FLASK_APP environment variable as followed (as PowerShell managed environment variables differently)
$env:FLASK_APP="C:\[path-to-flask-project-venv]\todo\app.py"
Start Flask by:
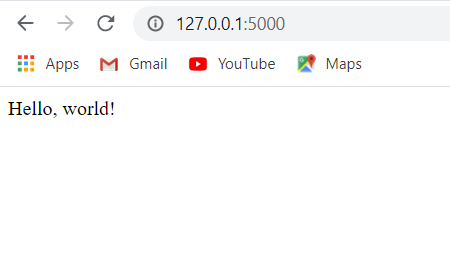
flask run
The web application has started and here you can get the URI to test.
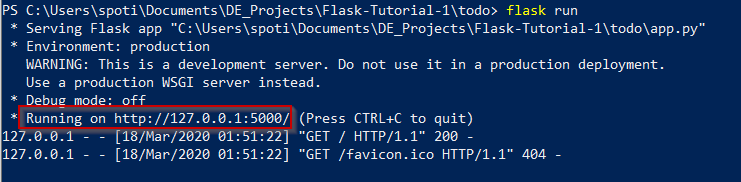
Accessing this URI on the web browser, you should get the output of the appliction.