




Stable |
Edge |
|
|---|---|---|
| Version |  |
 |


CarConnectivity-Addon allows you to connect and retrieve information about your vehicle from compatible manufacturers' online services. This guide explains how to properly configure the module.
I am simply packaging the work (excellent) done by Till.
His work is also available as docker images. So if you're using Home Assistant as a stand-alone docker, you can directly use it too.
reverse engineering of the api to be completed and communication with MQTT/Home assistant to be adapted.
Important
Since late May 2026, the Volkswagen Group has restricted third-party API access. The regular VW/Seat/Cupra connectors return 403 errors and no longer retrieve data, even though the official apps still work. There is currently no fix for these connectors.
Workaround: the read-only EU Data Act connector is ✅ integrated in this add-on (see the dedicated section below); blocked configurations are migrated to it automatically.
Tip
The Edge version is the development build (a work in progress, not a release): it ships the newest features first and can be unstable. Install "CarConnectivity Add-on Edge" from the same repository.

The add-on is configured entirely from its built-in configuration page, not from the Home Assistant options tab (which only shows a pointer to it).
How to open it: add-on Info tab → OPEN WEB UI button → Configuration button in the top bar of the page. When the web dashboard is disabled (or not started yet), the Web UI opens straight on the configuration page.
On first open, an existing configuration is imported automatically (including one produced by an older version of the add-on), and blocked Seat / Cupra / Volkswagen (Europe) connectors are migrated automatically to the EU Data Act connector at startup. After saving, restart the add-on to apply the new configuration.
Click "+ Add vehicle" and pick your brand; add one card per account. Supported brands:
AudiBentley(EU Data Act only)Cupra(EU Data Act only: the manufacturer connector is blocked since May 2026)Renault / DaciaSEAT(EU Data Act only: the manufacturer connector is blocked since May 2026)ŠkodaTronityVolkswagen (Europe)(EU Data Act only: the manufacturer connector is blocked since May 2026)Volkswagen (North America)(country automatically set from your Home Assistant country setting:usby default,caif your HA is configured for Canada)Volvo
The right data source is chosen for you. A choice only appears when more than one works (Škoda and Audi can use either their manufacturer account or the read-only EU Data Act portal; Automatic prefers the manufacturer one).
The fields shown on each vehicle card depend on the brand:
For the VAG brands (Volkswagen, SEAT, Cupra, Škoda, Audi, Bentley, Volkswagen North America):
Username: The email address used to log into the manufacturer’s service.Password: The password for your manufacturer account.S-PIN(optional): The 4-digit code required for remote access to certain vehicle features.VIN(optional): Restrict the account to one vehicle.
For Volvo:
API key (primary)/API key (secondary): Volvo API keys.Vehicle token: Access token for the vehicle.Location token(optional): Access token for the location endpoint.Interval(optional, seconds): Refresh interval.⚠️ Too frequent refreshes may exceed the manufacturer's API request limits and trigger temporary restrictions.
For Renault / Dacia:
Username/Password: Your My Renault account credentials.Locale(optional): e.g.fr_FR,de_DE.VIN(optional): Restrict the account to one vehicle.
For Tronity:
Client ID/Client secret: Your Tronity API credentials.Interval(optional, seconds): Refresh interval.VIN(optional): Restrict the account to one vehicle.
When a vehicle uses the EU Data Act data source, only two fields matter:
Username: the email of your brand account (Volkswagen ID, SEAT, Cupra, etc.).Password: the password of that same brand account.
This read-only connector replaces the Seat / Cupra / Volkswagen (Europe) connectors that have been blocked (403) since May 2026. It refreshes data about every 15 minutes and cannot send remote commands, location or vehicle images (a warning in the top bar reminds you of this whenever it is in use). The brand, refresh interval and OIDC locale (country/language) are set automatically: you only provide your credentials.
⚠️ Mandatory setup, do this first or it will not work. This connector only downloads the datasets that the EU Data Act portal produces; it never creates them for you. If you skip this step the add-on connects but receives no data, which can look exactly like your credentials are being rejected. You must register on the portal and enable a permanent data delivery once:
- Open eu-data-act.drivesomethinggreater.com and click Log in. Choose your brand (Volkswagen, SEAT, Cupra, ...) and sign in with the same account you use in the official brand app.
- Select your vehicle and authorize My Data Portal to access it.
- Click Request customised data (also shown as Get customised data) and configure:
- all data clusters,
- an interval of 15 minutes,
- an unlimited / continuous duration (no end date),
- a name of your choice (for example
All data 15min).- Submit, then be patient. The first datasets can take several hours, sometimes more than 24 hours, to appear. After that a new ZIP file is published roughly every 15 minutes and the add-on picks it up automatically.
You can check progress anytime by logging back into the portal and looking at the vehicle's data delivery list. As long as no continuous request is active and producing files, the connector has nothing to read.
Full details and limitations: CarConnectivity-connector-vw-eu-data-act.
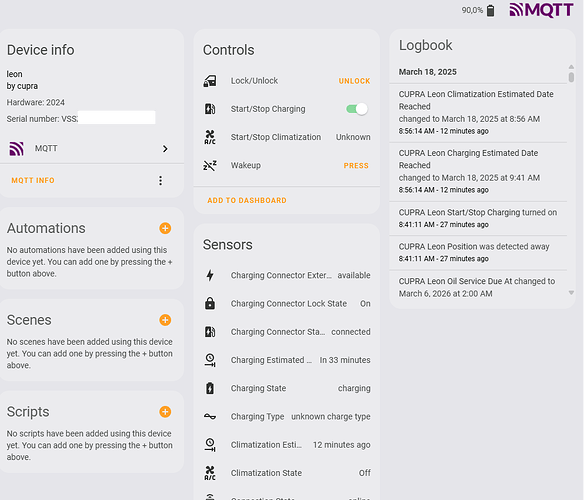
MQTT is how vehicle data reaches Home Assistant:
Broker host: IP or domain name of the MQTT server (leave blank for the Home Assistant Mosquitto add-on default,core-mosquitto)Port: broker port (default1883)Username/Password: MQTT broker credentials
Home Assistant, you can add, for example, Mosquitto Addon and the MQTT integration
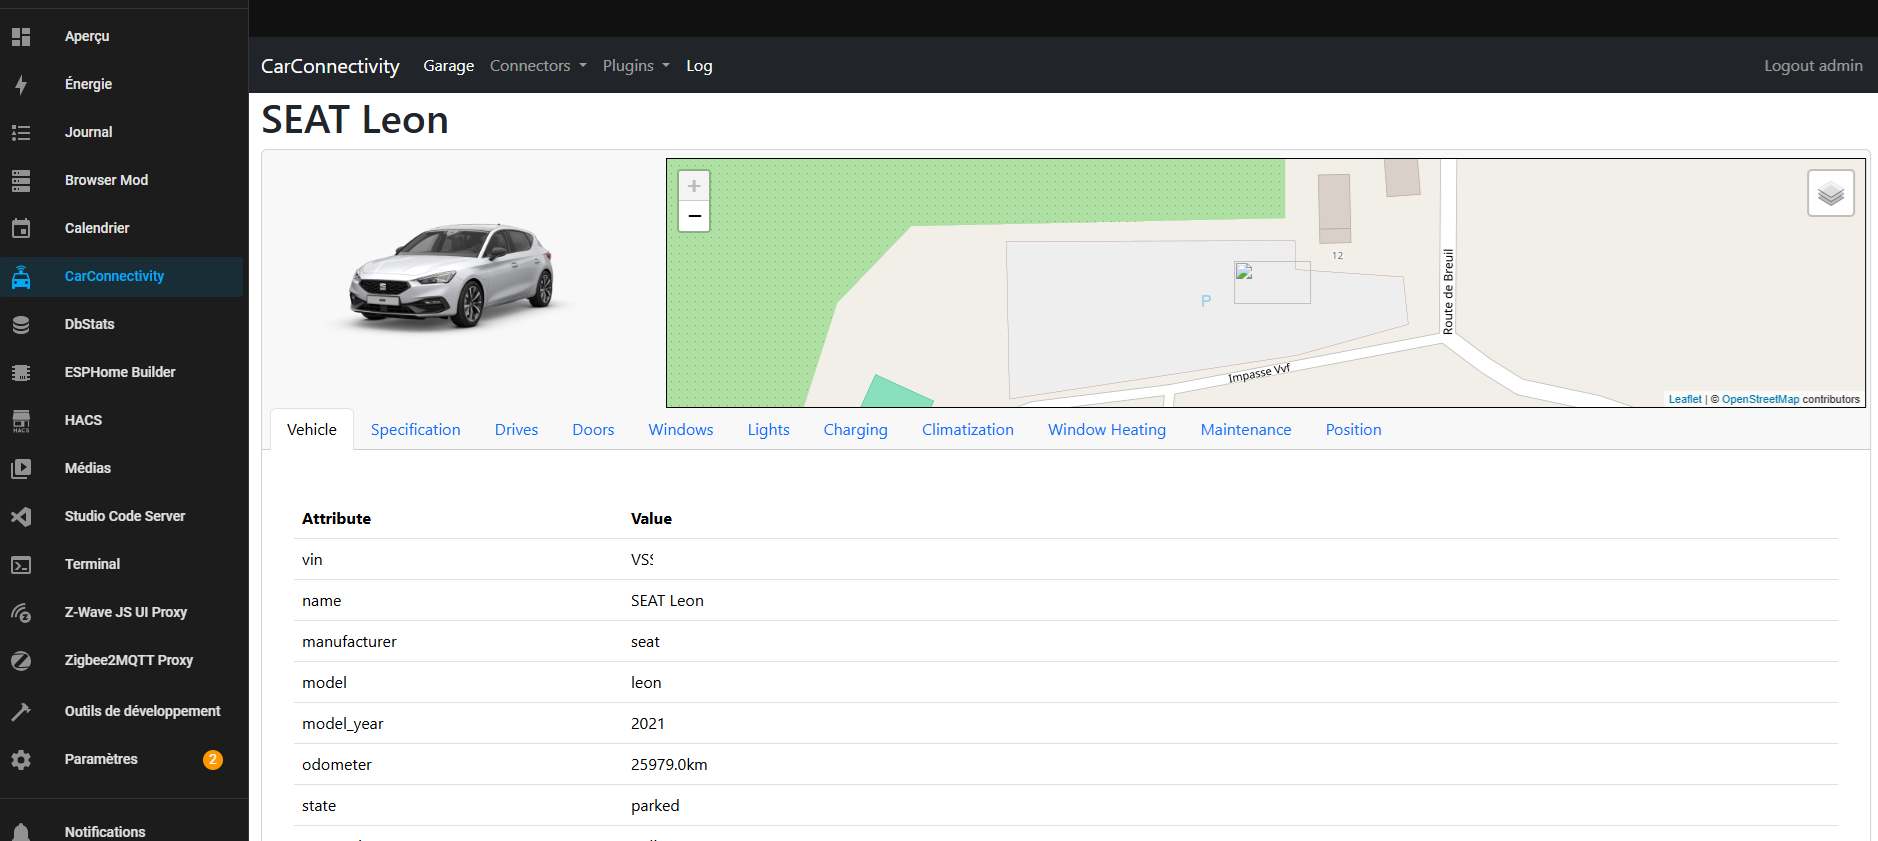
The original CarConnectivity dashboard can be enabled with the "Enable the CarConnectivity web dashboard" toggle. Once the add-on restarts, the Web UI opens on the dashboard, and the top bar lets you switch between Dashboard and Configuration at any time.
Login user/Login password(optional): leave the user empty (orautologin) to be logged in automatically; set both to require a login.
Define the amount of information recorded in logs:
Info: Displays general operational information.Warning: Displays only warnings.Error: Displays only error messages.Debug: Displays additional details useful for troubleshooting.
Define the amount of information recorded in logs:
Info: Displays general operational information.Warning: Displays only warnings.Error: Displays only error messages.Debug: Displays additional details useful for troubleshooting.
The two levels above apply globally. To troubleshoot a single component without flooding the log, expand "Per-component levels (advanced)" in the Logging section of the configuration page: each configured vehicle account (log + API level) and each plugin (MQTT, Web dashboard, ABRP, MQTT Home Assistant) gets its own selector. default inherits the global level, so you can for example keep everything at info and set only the MQTT plugin to debug. A badge on the collapsed line shows how many overrides are active.
Note: a debug override on a vehicle account also makes the shared HTTP libraries verbose for the whole add-on; plugin overrides are fully isolated.
Enable "Send data to ABRP", then add one row per vehicle with "+ Add ABRP token":
VIN: the Vehicle Identification Number (17 alphanumeric characters), unique to each vehicle.ABRP token: the authentication token generated by ABRP for that vehicle.
To retrieve your token, go to your vehicle on A Better Routeplanner, select "Live Data," and then link your vehicle using the "Generic" section. The token to paste into the configuration will be displayed. Add a VIN/token row for each vehicle you wish to connect to ABRP.
Expert Mode enables the use of all native Carconnectivity functions, including those not available through the graphical interface, as long as the corresponding functions are supported by the add-on binaries.
Expert Mode is intended for advanced users only. To use it safely, you must:
Be familiar with JSON syntax and structure.
Expert Mode is activated simply by the presence of a /addon_configs/1b1291d4_carconnectivity-addon/carconnectivity.expert.json file containing the desired settings (no option to toggle). It takes precedence and completely replaces the configuration produced by the configuration page, which is written to /addon_configs/1b1291d4_carconnectivity-addon/carconnectivity.json (the page's editable model is saved separately in carconnectivity.configui.json). The directory /addon_configs/1b1291d4_carconnectivity-addon/ may not appear right away in the Home Assistant file system. If this is the case, restart the supervisor.
Refer to the official Carconnectivity documentation for the list of supported functions and expected parameters.
- Only add vehicle cards for the accounts you own.
- Do not share your login credentials.
- Adjust the refresh interval (where available) to avoid exceeding API request limits. Remember the limit seems to be about 1000 req/day.
- Use the "Debug" logging level only when troubleshooting issues, and prefer a per-component override to keep the rest of the log quiet.
- Restart the add-on after saving the configuration.
If you have any questions or encounter issues during configuration, refer to the module documentation. If you find a bug, please open an issue.